What is a Repository Manager?
Throughout the development process of a software application, various kinds of packages are created such as jar files, war files, Docker images etc. In a development environment with a Continuous Integration and Continuous Development(CI/CD) workflow, this type of artifacts are created frequently and regularly. Depending on the technologies you use, type of artifacts will differ and you need different kinds of repositories for these different types. Therefore, we need a way to manage these artifacts easily to support the development process. An artifact repository manager is a server application designed to to achieve exactly that.
- A repository manager allows you to upload and store different build artifacts of your software application.
- You can also retrieve them easily when necessary. Assume you have a lot of inter-dependent components in your application. If you need the latest release version from a different component for the component you are developing, you can easily retrieve it from the artifact repository without having to look everywhere.
- You can manage versions of build artifacts of your application very easily.
- It can serve as a central repository to retrieve both private artifacts of your company, as well as artifacts from public repositories such as MvnRepository for Maven.
The usage of an artifact repository manager is considered an essential best practice for any significant CI/CD development environment.
Preparing the Server
You need to have a Linux server prepared to install Nexus. It could be a remote server from a IaaS provider or could be a VM running Linux on your local machine. For this, I am using a an Ubuntu server hosted on Digital Ocean. Make sure you can SSH to the server as root and we are good to go!
Install Java
To install Nexus, you need to have Java installed on your server. At the time of writing this article, Nexus supports JDK8, so that is what I will be installing.
root@ubuntu-nexus:~# apt update
root@ubuntu-nexus:~# apt install openjdk-8-jre-headless
Create New User with Root Privileges
Once the JDK installed, we need to create a new users with root privileges. We can install Nexus as the root users, but that would be such bad practice. We also need to run the Nexus service as this user, so it would be best to create a new user for that.
root@ubuntu-nexus:~# adduser charith
root@ubuntu-nexus:~# usermod -aG sudo charith
If I explain what I have done here, adduser command creates a new user. usermod command appends the user to sudo group.
-a– append the user to the supplementary group(s). Use only with the -G option.-G– a list of supplementary groups which the user is also a member of. Each group is separated from the next by a comma, with no intervening white spaces.
Once this is done, you can try to switch to your newly created user with su command. and you should see the output like below.
root@ubuntu-nexus:~# su charith
To run a command as administrator (user "root"), use "sudo <command>".
See "man sudo_root" for details.

charith@ubuntu-nexus:/root$
Add SSH Key for Newly Created User
In order for you to be able to login to the server as the new user, you need to add the SSH key to authorized_users file for this new user as well. (At this point you should have already created the SSH key in order to login to the server as root. So you can use the same key.)
Navigate to the .ssh directory on your machine. In Windows, you can find it at C:\Users\<UserName>\.ssh. In Linux, you can find it in /home/<UserName> directory. Find the public key file with the file extension of .pub, usually a file named id_rsa.pub, and copy the content to the clipboard.
Then login to your server and run below commands.
$ ssh root@165.232.178.38
root@ubuntu-nexus:~# su charith
charith@ubuntu-nexus:/root$ cd ~
charith@ubuntu-nexus:~$ mkdir .ssh
charith@ubuntu-nexus:~$ cd .ssh
charith@ubuntu-nexus:~$ vim authorized_keys
Above commands respectively do following:
- SSH to server as root user.
- Switch user to newly created user.
- Change directory to home directory of the user.
- Make a directory named
.ssh. - Change directory to
.ssh. - create new file named
authorized_keysusing Vim editor.
Paste the public key you copied earlier to the authorized_keys file and save it. Now you should be able to directly login as this new user instead of having to go through root.
Installing Nexus
Once the server is prepared, we can start our installation. First you need to SSH to the server as your new user. Then change the directory to /opt as that is where we are going to install Nexus.
Go to Nexus OSS download page here from your browser and copy the link URL for Unix archive. Then download it using wget.
charith@ubuntu-nexus:~$ cd /opt
charith@ubuntu-nexus:/opt$ sudo wget https://download.sonatype.com/nexus/3/latest-unix.tar.gz
Once done, unzip the file using tar.
charith@ubuntu-nexus:/opt$ sudo tar -xzf latest-unix.tar.gz-x– extract-z– use the decompress option. This is specially needed when doing a pipe-f– file name
Unzipping this file would create 2 new directories as below.
charith@ubuntu-nexus:/opt$ ls
latest-unix.tar.gz  nexus-3.34.0-01  sonatype-work
Sonatype-work directory contains all your configurations and data. Nexus-3.34.0-01 directory contains all the binaries for Nexus.
Once the unzip operation is completed, you need to change the owner of these two directories and everything inside to your Nexus user.
charith@ubuntu-nexus:/opt$ sudo chown -R charith:charith nexus-3.34.0-01/
charith@ubuntu-nexus:/opt$ sudo chown -R charith:charith sonatype-work/
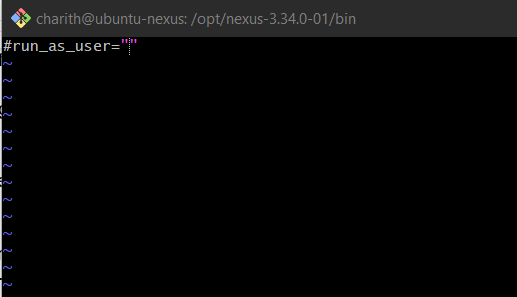
Now the last thing you have to do is change the run as user of the Nexus service to the Nexus user you created. You can do it by editing the nexus.rc file in /opt/nexus-3.34.0-01/bin directory. Navigate to the directory using these commands and open the file using Vim editor.
charith@ubuntu-nexus:/opt$ cd nexus-3.34.0-01/bin/
charith@ubuntu-nexus:/opt/nexus-3.34.0-01/bin$ ls
contrib  nexus  nexus.rc  nexus.vmoptions
charith@ubuntu-nexus:/opt/nexus-3.34.0-01/bin$ vim nexus.rc
The file would look like below. Un-comment this line by removing the # and give the username between the double quotes. Then save the file.

Once this is done, start Nexus using following command. Note that you need to give the full path for the command to work.
charith@ubuntu-nexus:/opt/nexus-3.34.0-01/bin$ /opt/nexus-3.34.0-01/bin/nexus startBy default, Nexus runs on port 8081. Therefore you may have to open port 8081 for your server as well using firewall rules if you are using a cloud IaaS provider to host Nexus.
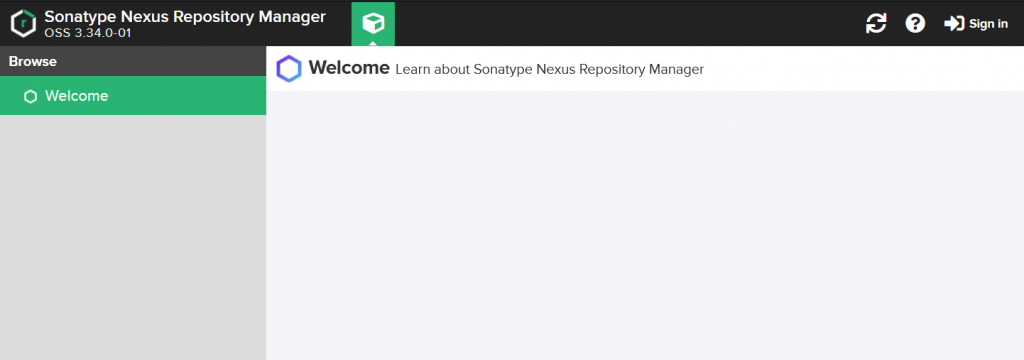
Once all that is done, from a browser, check whether you can access the repository using http://<YourServerIP>:8081. If everything is alright, you should see following in your browser!

Now to login, you need to find the admin user password and you can find it in a file named admin.password in /opt/sonatype-work/nexus3 directory.
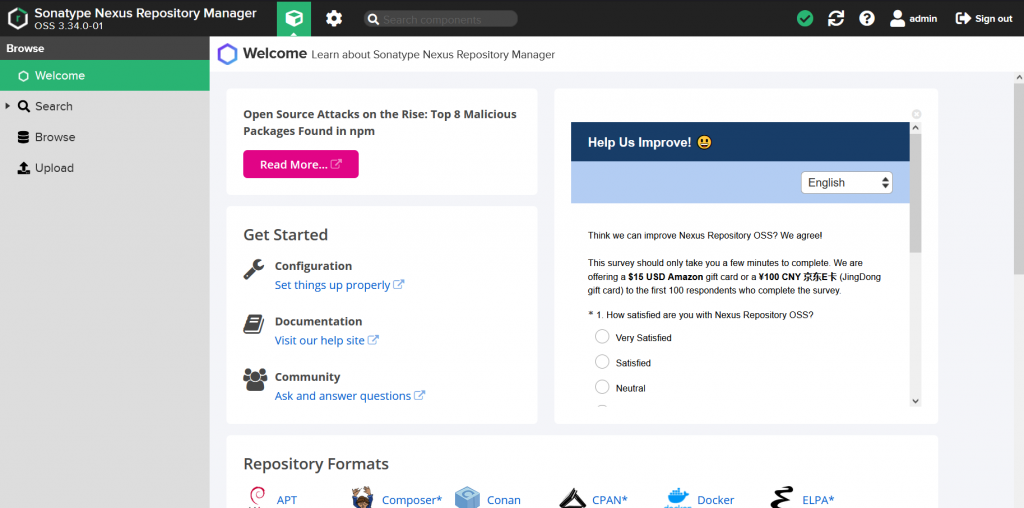
charith@ubuntu-nexus:/opt/sonatype-work/nexus3$ cat admin.passwordWhen you login with this password for the first time, you would be prompted to change it. Once logged in, you would come to a screen like below.

And that’s it! We have successfully set up Nexus Repository Manager!


