
What is Jenkins?
Jenkins is an open source automation server. It helps automate the parts of software development related to building, testing, and deploying, facilitating continuous integration and continuous delivery.
Wikipedia
Preparing the Server
To start with, you need to have a Linux server prepared to install Jenkins. It could be a remote server from an IaaS provider or could be a VM running Linux on your local machine. For this, I am using an Ubuntu server hosted on an IaaS platform.
Hope you are familiar with setting up a server on a cloud platform or know how to setup a VM on your own machine. Make sure you can SSH to the remote server as root if it is hosted on cloud.
Create a New User with Root Privileges
First thing we need to do is create a new users with root privileges. We can install Jenkins as the root users, but that would be a bad practice. Therefore we are creating a new user named Jenkins on this server and whenever we SSH to the server after the initial installation, we will be using this Jenkins user.
root@ubuntu-jenkins:~# adduser jenkins
root@ubuntu-jenkins:~# usermod -aG sudo jenkins
Here the adduser command creates a new user. usermod command appends the user to sudo group.
-a– append the user to the supplementary group(s). Use only with the -G option.-G– a list of supplementary groups which the user is also a member of. Each group is separated from the next by a comma, with no intervening white spaces.
Installing Docker
To install Docker, we are going to switch the user to our new Jenkins user, then do an apt update and an apt install to install Docker as below.
root@ubuntu-jenkins:~# su jenkins
To run a command as administrator (user "root"), use "sudo <command>".
See "man sudo_root" for details.
jenkins@ubuntu-jenkins:/root$
jenkins@ubuntu-jenkins:/root$ sudo apt update
jenkins@ubuntu-jenkins:/root$ sudo apt install docker.io
Once the installation is completed, try to run docker ps command to verify the installation, but you would get a permission denied error like this.
jenkins@ubuntu-jenkins:/root$ docker ps
Got permission denied while trying to connect to the Docker daemon socket at unix:///var/run/docker.sock: Get http://%2Fvar%2Frun%2Fdocker.sock/v1.24/containers/json: dial unix /var/run/docker.sock: connect: permission denied
But if you run it with sudo, it works!
jenkins@ubuntu-jenkins:/root$ sudo docker ps
CONTAINER ID   IMAGE     COMMAND   CREATED   STATUS    PORTS     NAMES
jenkins@ubuntu-jenkins:/root$
This is because you need to add Jenkins user to docker user group. Docker daemon always needs to run as root. But any user that belongs to docker group can run docker client without root privileges.
Add Jenkins User to Docker Group
To add Jenkins user to Docker group, we can run following command.
jenkins@ubuntu-jenkins:/root$ sudo usermod -aG docker jenkinsFor this change to take effect, we need to log out and log back in. Once done, you should be able to run docker commands without sudo as Jenkins user like below.
jenkins@ubuntu-jenkins:/root$ exit
exit
root@ubuntu-jenkins:~# su jenkins
jenkins@ubuntu-jenkins:/root$ docker ps
CONTAINER ID   IMAGE     COMMAND   CREATED   STATUS    PORTS     NAMES
jenkins@ubuntu-jenkins:/root$
Add SSH Key for Jenkins User
The whole point of creating a new user named Jenkins was so that we can directly SSH to our server as this user, instead of root user. In order to login as Jenkins user, you need to add the SSH key to authorized_users file for this user. (At this point you should have already created the SSH key in order to login to the server as root. So you can use the same key.)
Navigate to the .ssh directory on your machine. In Windows, you can find it at C:\Users\<UserName>\.ssh. In Linux, you can find it in /home/<UserName>/.ssh directory. Find the public key file with the file extension of .pub, usually a file named id_rsa.pub, and copy the content to the clipboard.
Then login to your server and run below commands.
$ ssh root@159.65.155.122
root@ubuntu-jenkins:~# su jenkins
jenkins@ubuntu-jenkins:~$ pwd
/home/jenkins
jenkins@ubuntu-jenkins:~$ mkdir .ssh
jenkins@ubuntu-jenkins:~$ cd .ssh
jenkins@ubuntu-jenkins:~$ vim authorized_keys
Above commands respectively do following:
- SSH to server as root user.
- Switch user to Jenkins user.
- Print working directory to verify we are in the home directory of Jenkins. If not, you can run
cd ~command to switch to home directory. - Make a directory named
.ssh. - Change directory to
.ssh. - create a new file named
authorized_keysusing Vim editor.
Paste the public key you copied earlier to the authorized_keys file and save it. Now you should be able to directly login as Jenkins instead of having to go through root.
Now all that is done, we are ready to create a Jenkins container!
Running the Jenkins Container
We can find the Docker image for Jenkins in Docker Hub. And you can find the link to documentation of how to use the image here, which will lead you to Jenkins GitHub repository.
To run a Jenkins container, we can run below command.
$ ssh jenkins@159.65.155.122
jenkins@ubuntu-jenkins:~$ docker run -d --name jenkins \
> -p 8080:8080 \
> -p 50000:50000 \
> -v jenkins_home:/var/jenkins_home \
> jenkins/jenkins:lts-jdk11
Let me break down the above command line by line.
- SSH to our server as Jenkins user.
-doption allows me to run the container detached from the terminal--nameoption allows me to give the container a name so that I can refer to it easily later. Here I have given the name asjenkins.8080is the default Jenkins port. I have mapped it to port 8080 in Docker host as well. When we connect to Jenkins UI, we use this port.- Port
50000will be used when you connect agents to the controller. (Don’t think about this much at this time.) - This will automatically create a volume named
jenkins_homeon the Docker host. Docker volumes retain their content even when the container is stopped, started, or deleted. So if we later need to get rid of this container and start a new one, our data would be intact. - This is the image we are using to create our Jenkins container. This is the latest image at the time of writing this article. So you may need to go to Docker Hub and look up the latest version and usage instructions before running a container.
Once the Docker container is started, we can now check out the Jenkins UI by navigating to URL http://<ServerIP>:8080 from a browser.
Login to Jenkins UI
Once you go to URL http://<ServerIP>:8080, you would be directed to a page like below.
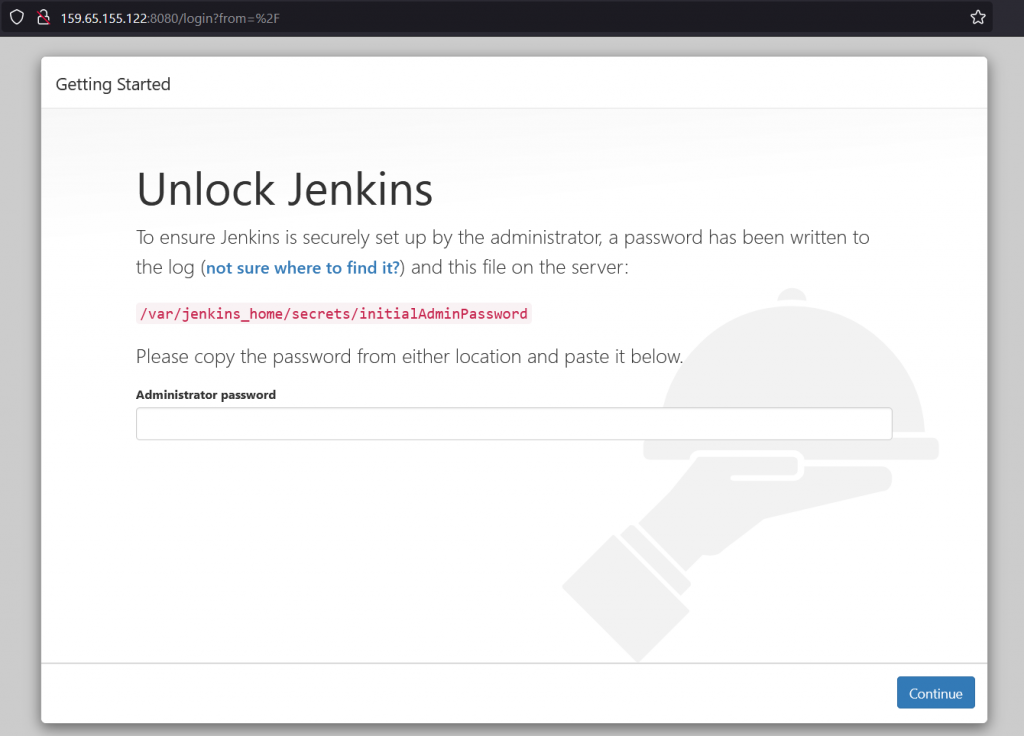
This pretty much tells you what you need to do in order to login as Administrator for the first time. So what I am going to do it find the password by looking at the file mentioned in above dialog.
jenkins@ubuntu-jenkins:~$ docker exec -it jenkins sh
$ cat /var/jenkins_home/secrets/initialAdminPassword
4782b621f62449968a189c774e2afd92
Here I am opening an interactive terminal inside my Jenkins container using docker exec command and then using cat command to read the content of the file /var/jenkins_home/secrets/initialAdminPassword.
Now copy this password and paste it in above window and you will be directed to following window.
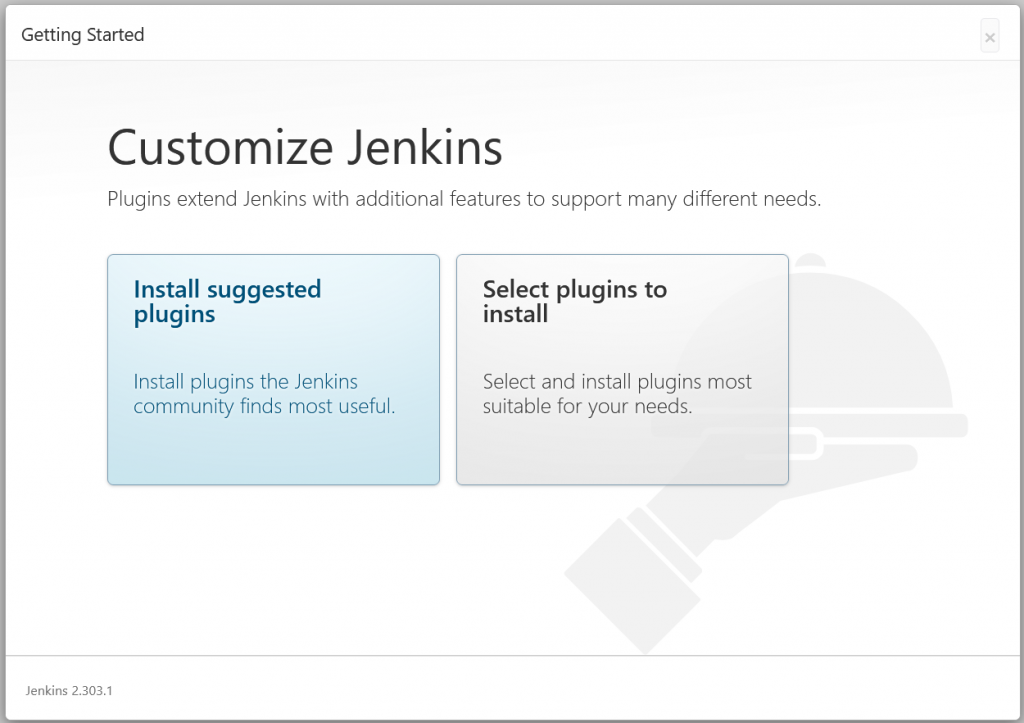
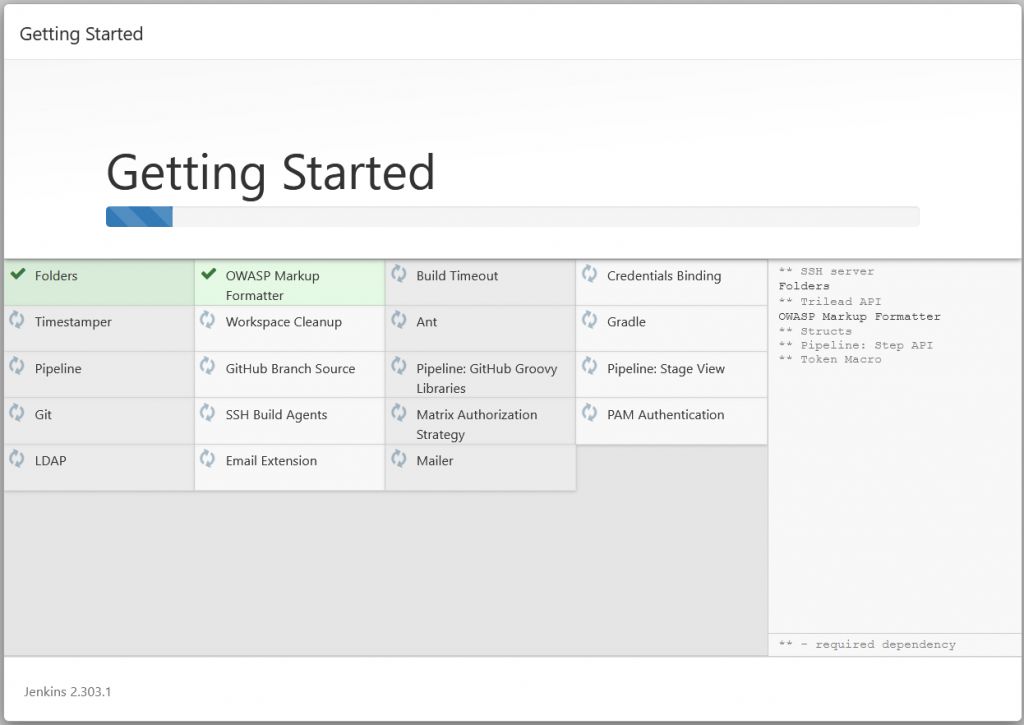
Click on Install Suggested Plugins and the plugins would start installing. You would see the progress as below.
Once this is done you will be asked to create the first Jenkins admin user like below.
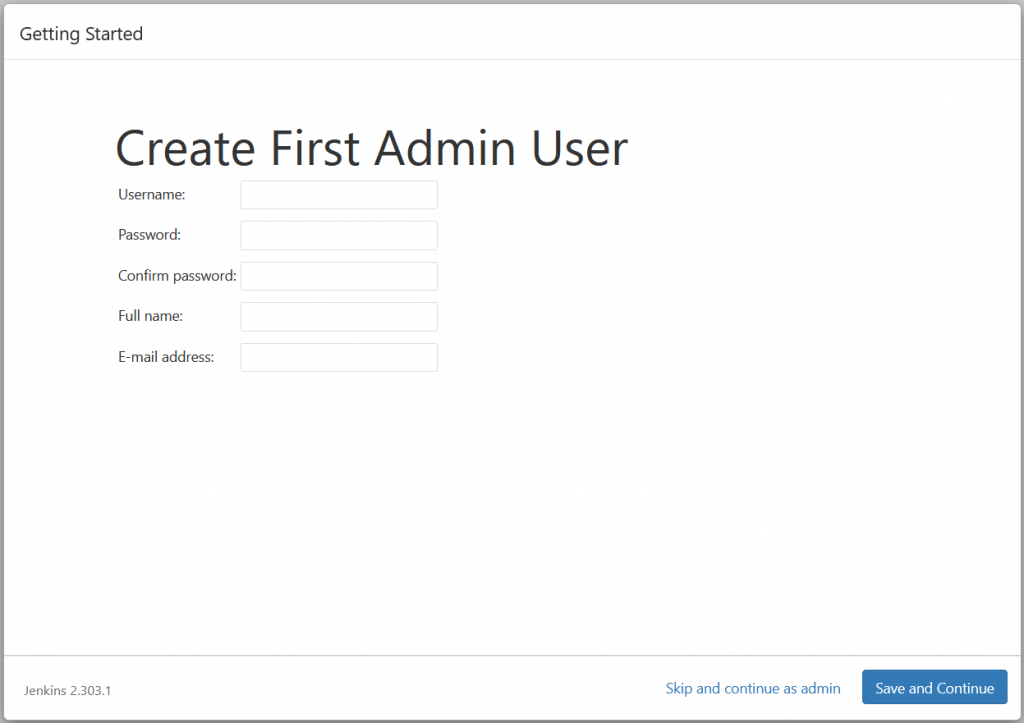
Just enter the details and then click on Save and Continue. You will be directed to Jenkins home page as below.
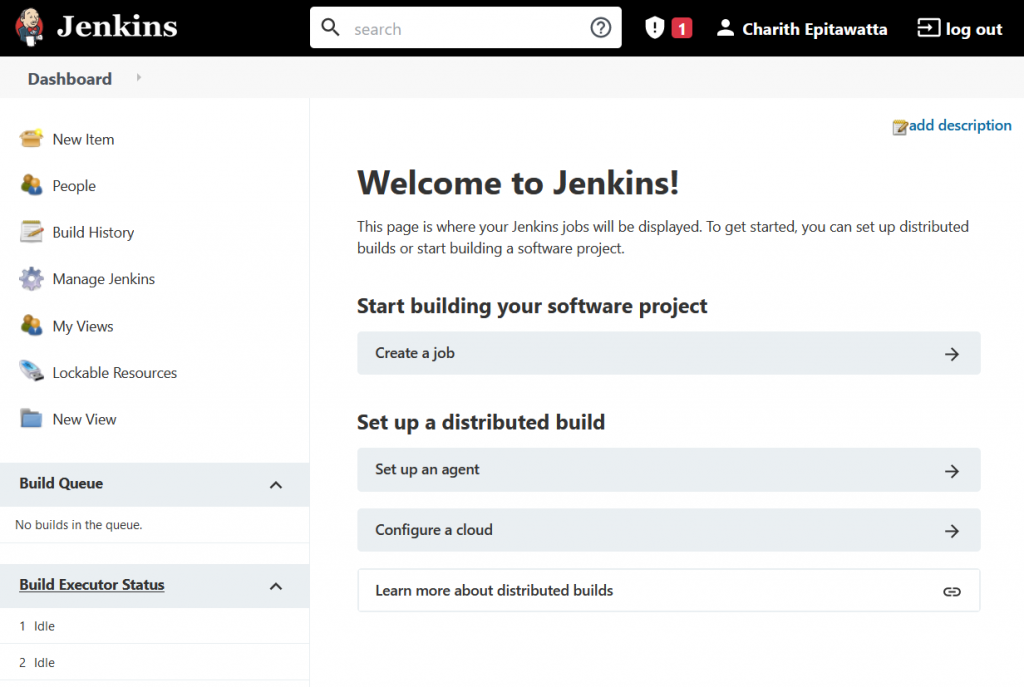
And that’s it! You have successfully installed Jenkins! Now all that’s left to do is play around and setup your first build automation job. We will look into that in the next article.